-
expand_more expand_less System Administrator's Guide
-
expand_more expand_less A guide for the trainer
-
expand_more expand_less A guide for the trainee
An explanation of how to use the text transcribing tool
An explanation of how to use the text transcribing tool

Step 1: Choosing the Right Video Source
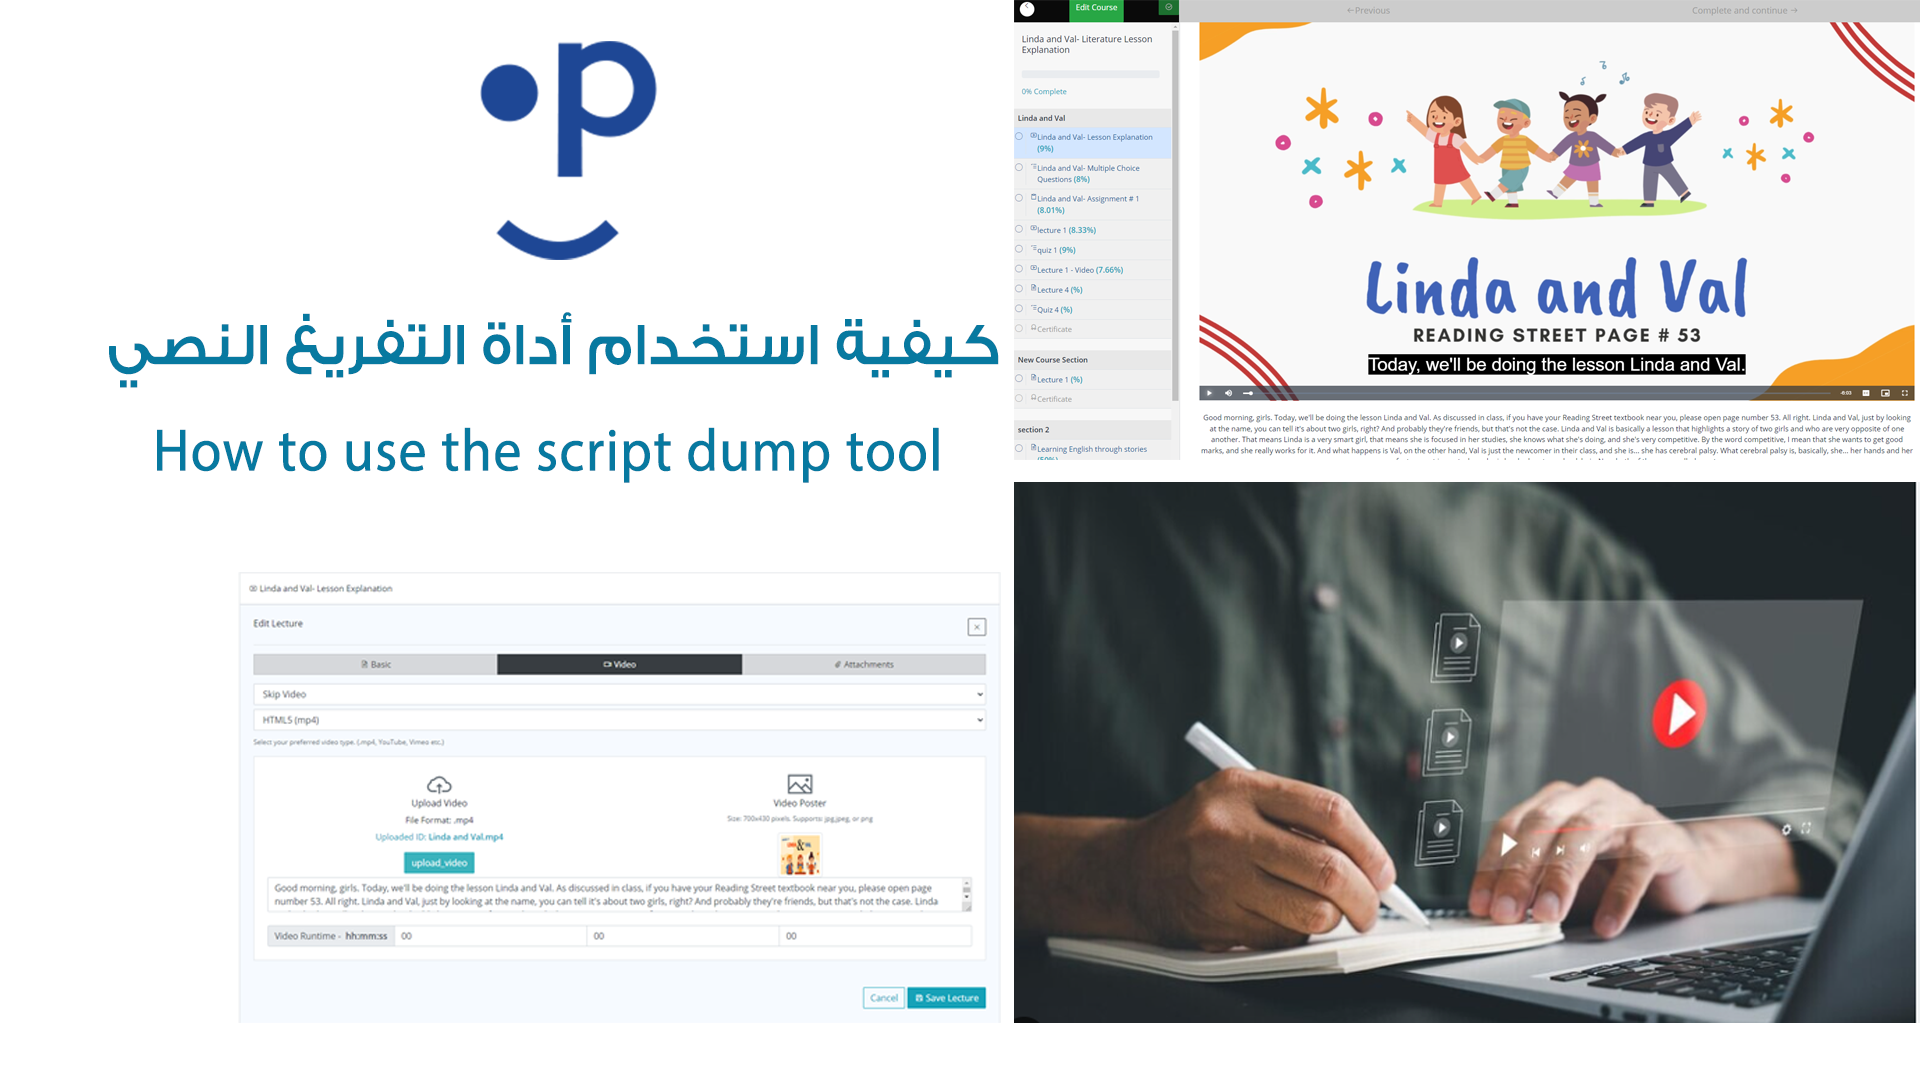
- When adding a video to your course, start by selecting the appropriate video source. You can choose between HTML5 (mp4), Vimeo, or YouTube.
- Navigate to the video settings in the platform and select the source that matches your video format.
Step 2: Uploading the Video
- After selecting the video source, click on the "Upload Video" button.
- Choose the video file from your device and upload it to the platform. The uploaded file’s name will appear below the upload button.
Step 3: Adding a Thumbnail Image
- Once the video is uploaded, you have the option to add a thumbnail image that represents the video. This image will be displayed as a preview on the course page.
- Click on the "Upload Video Poster" button, select the thumbnail image from your device, and upload it.
Step 4: Adding Text for Transcription
- In the designated text field, enter the text you want to display beneath the video. This text could be an explanation or a script that enhances the video content.
- The text you add can also be used by the transcription tool to automatically generate subtitles beneath the video as it plays.
Step 5: Confirming Settings and Saving the Lecture
After completing the video settings and adding the text and thumbnail, review everything to ensure that all elements are correctly set up.
Once you’re done, click the "Save Lecture" button to finalize the content in your course. The script you added will appear in two places: below the video as text and as captions while the video is running. This ensures that students can follow along both visually and audibly as they watch the video.

