-
expand_more expand_less System Administrator's Guide
-
expand_more expand_less A guide for the trainer
-
expand_more expand_less A guide for the trainee
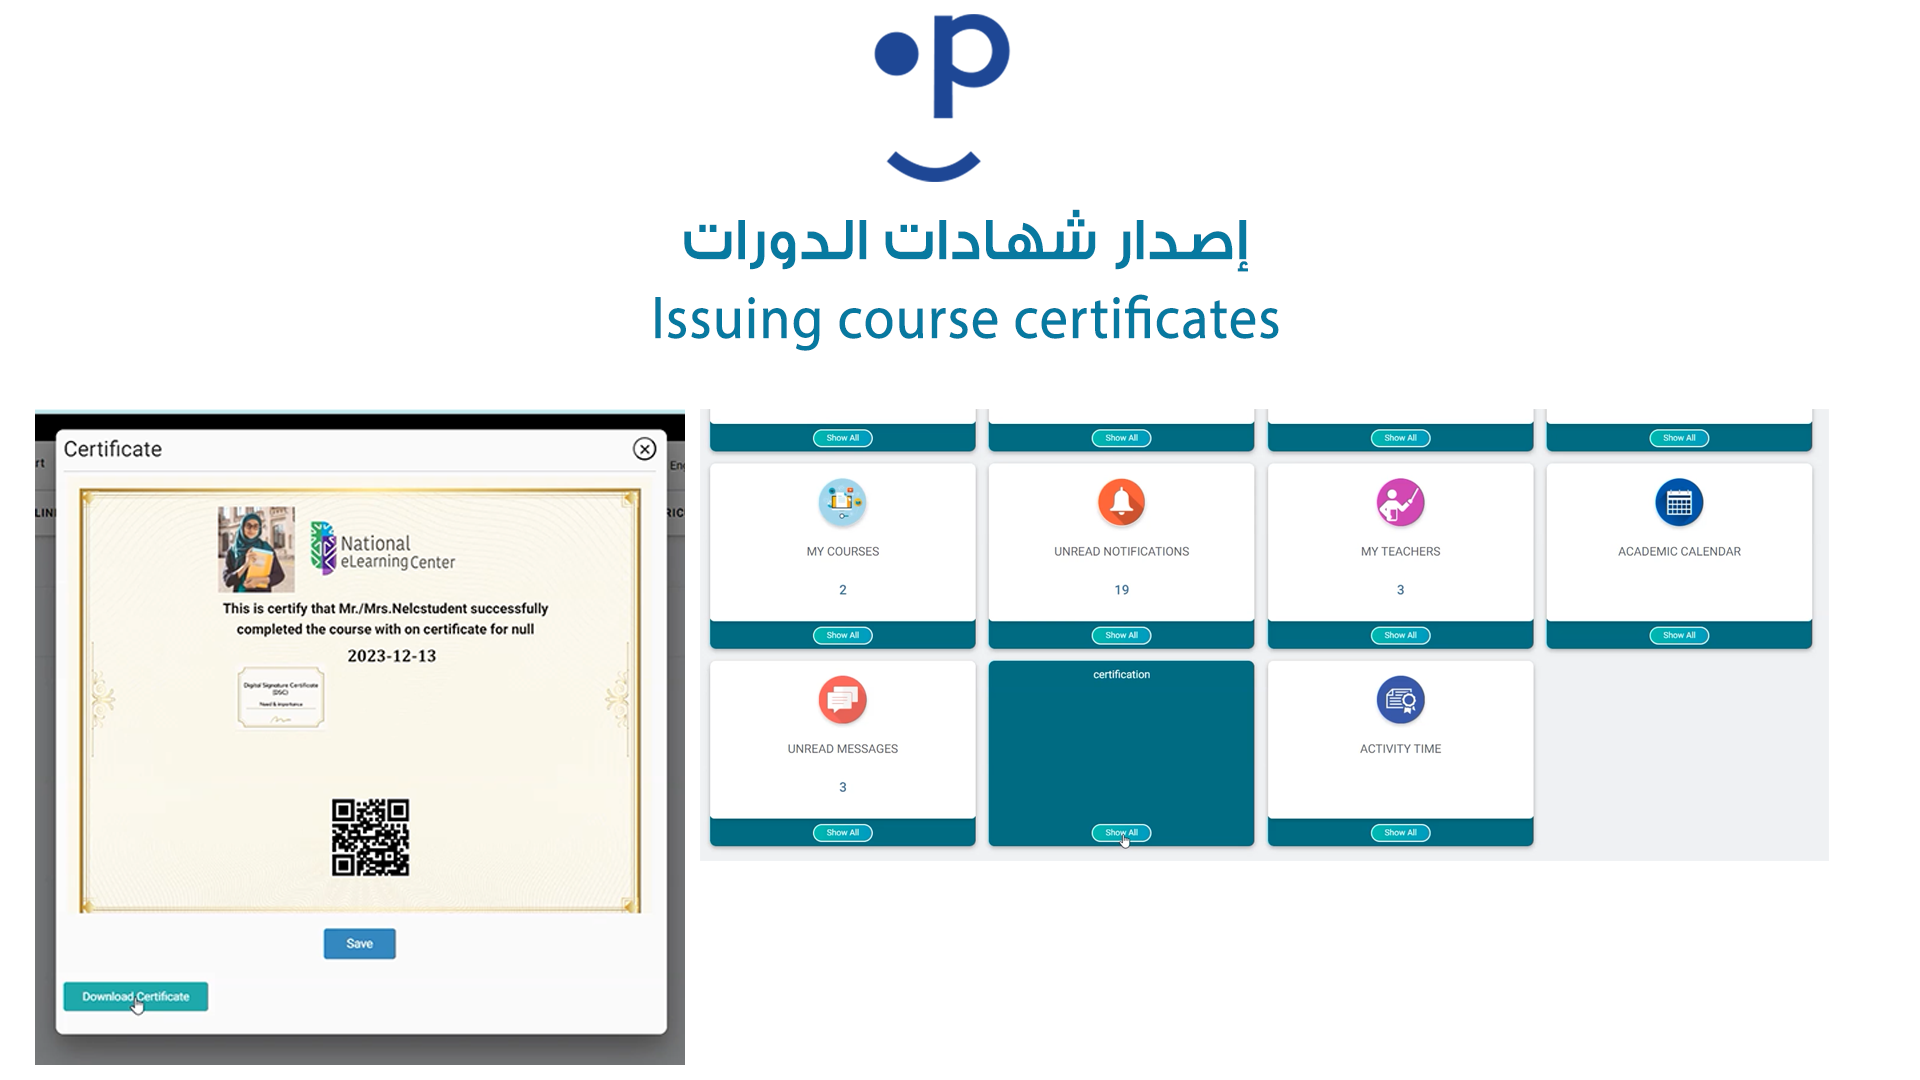
Issuing course certificates
Issuing course certificates

Creating a Course Certificate in Classperts LMS
Creating custom course certificates for students who successfully complete a course is a great way to add value to your learning programs. Follow these steps to design and issue certificates in Classperts LMS:
Step 1: Access the Certificate Section
- Log in to the Classperts LMS Admin panel.
- From the left-hand side menu, navigate to the Course Management section.
- Select Certificates from the options listed.
Step 2: Add a New Certificate
- Click on the Add New Certificate button located on the top right.
- A form will appear prompting you to enter certificate details.
Step 3: Fill in Certificate Information
- Certificate Name: Enter a unique name for the certificate (e.g., "Completion Certificate for Math Course").
- Body Text: In this section, add the text that will appear on the certificate, such as congratulating the student for completing the course. Example: "This is to certify that [Student Name] has successfully completed the [Course Name]."
- Date: Select the date on which the certificate will be issued.
- Signature: Upload a scanned image of the instructor or admin's signature that will be displayed on the certificate.
- Student Profile Image: You can add the student’s image by uploading it here.
- Background Image: Upload the background image for the certificate, such as a formal certificate design.
Step 4: Save and Preview the Certificate
- After filling out all the fields, click the Save button.
- The newly created certificate will now be visible in the Student Certificate List on the right side of the screen.
- You can Preview the certificate by clicking on the eye icon.
Step 5: Issuing the Certificate
- Once the certificate is saved, you can issue it to students who have completed the course.
- You can track and manage certificates from the same screen.

